Description
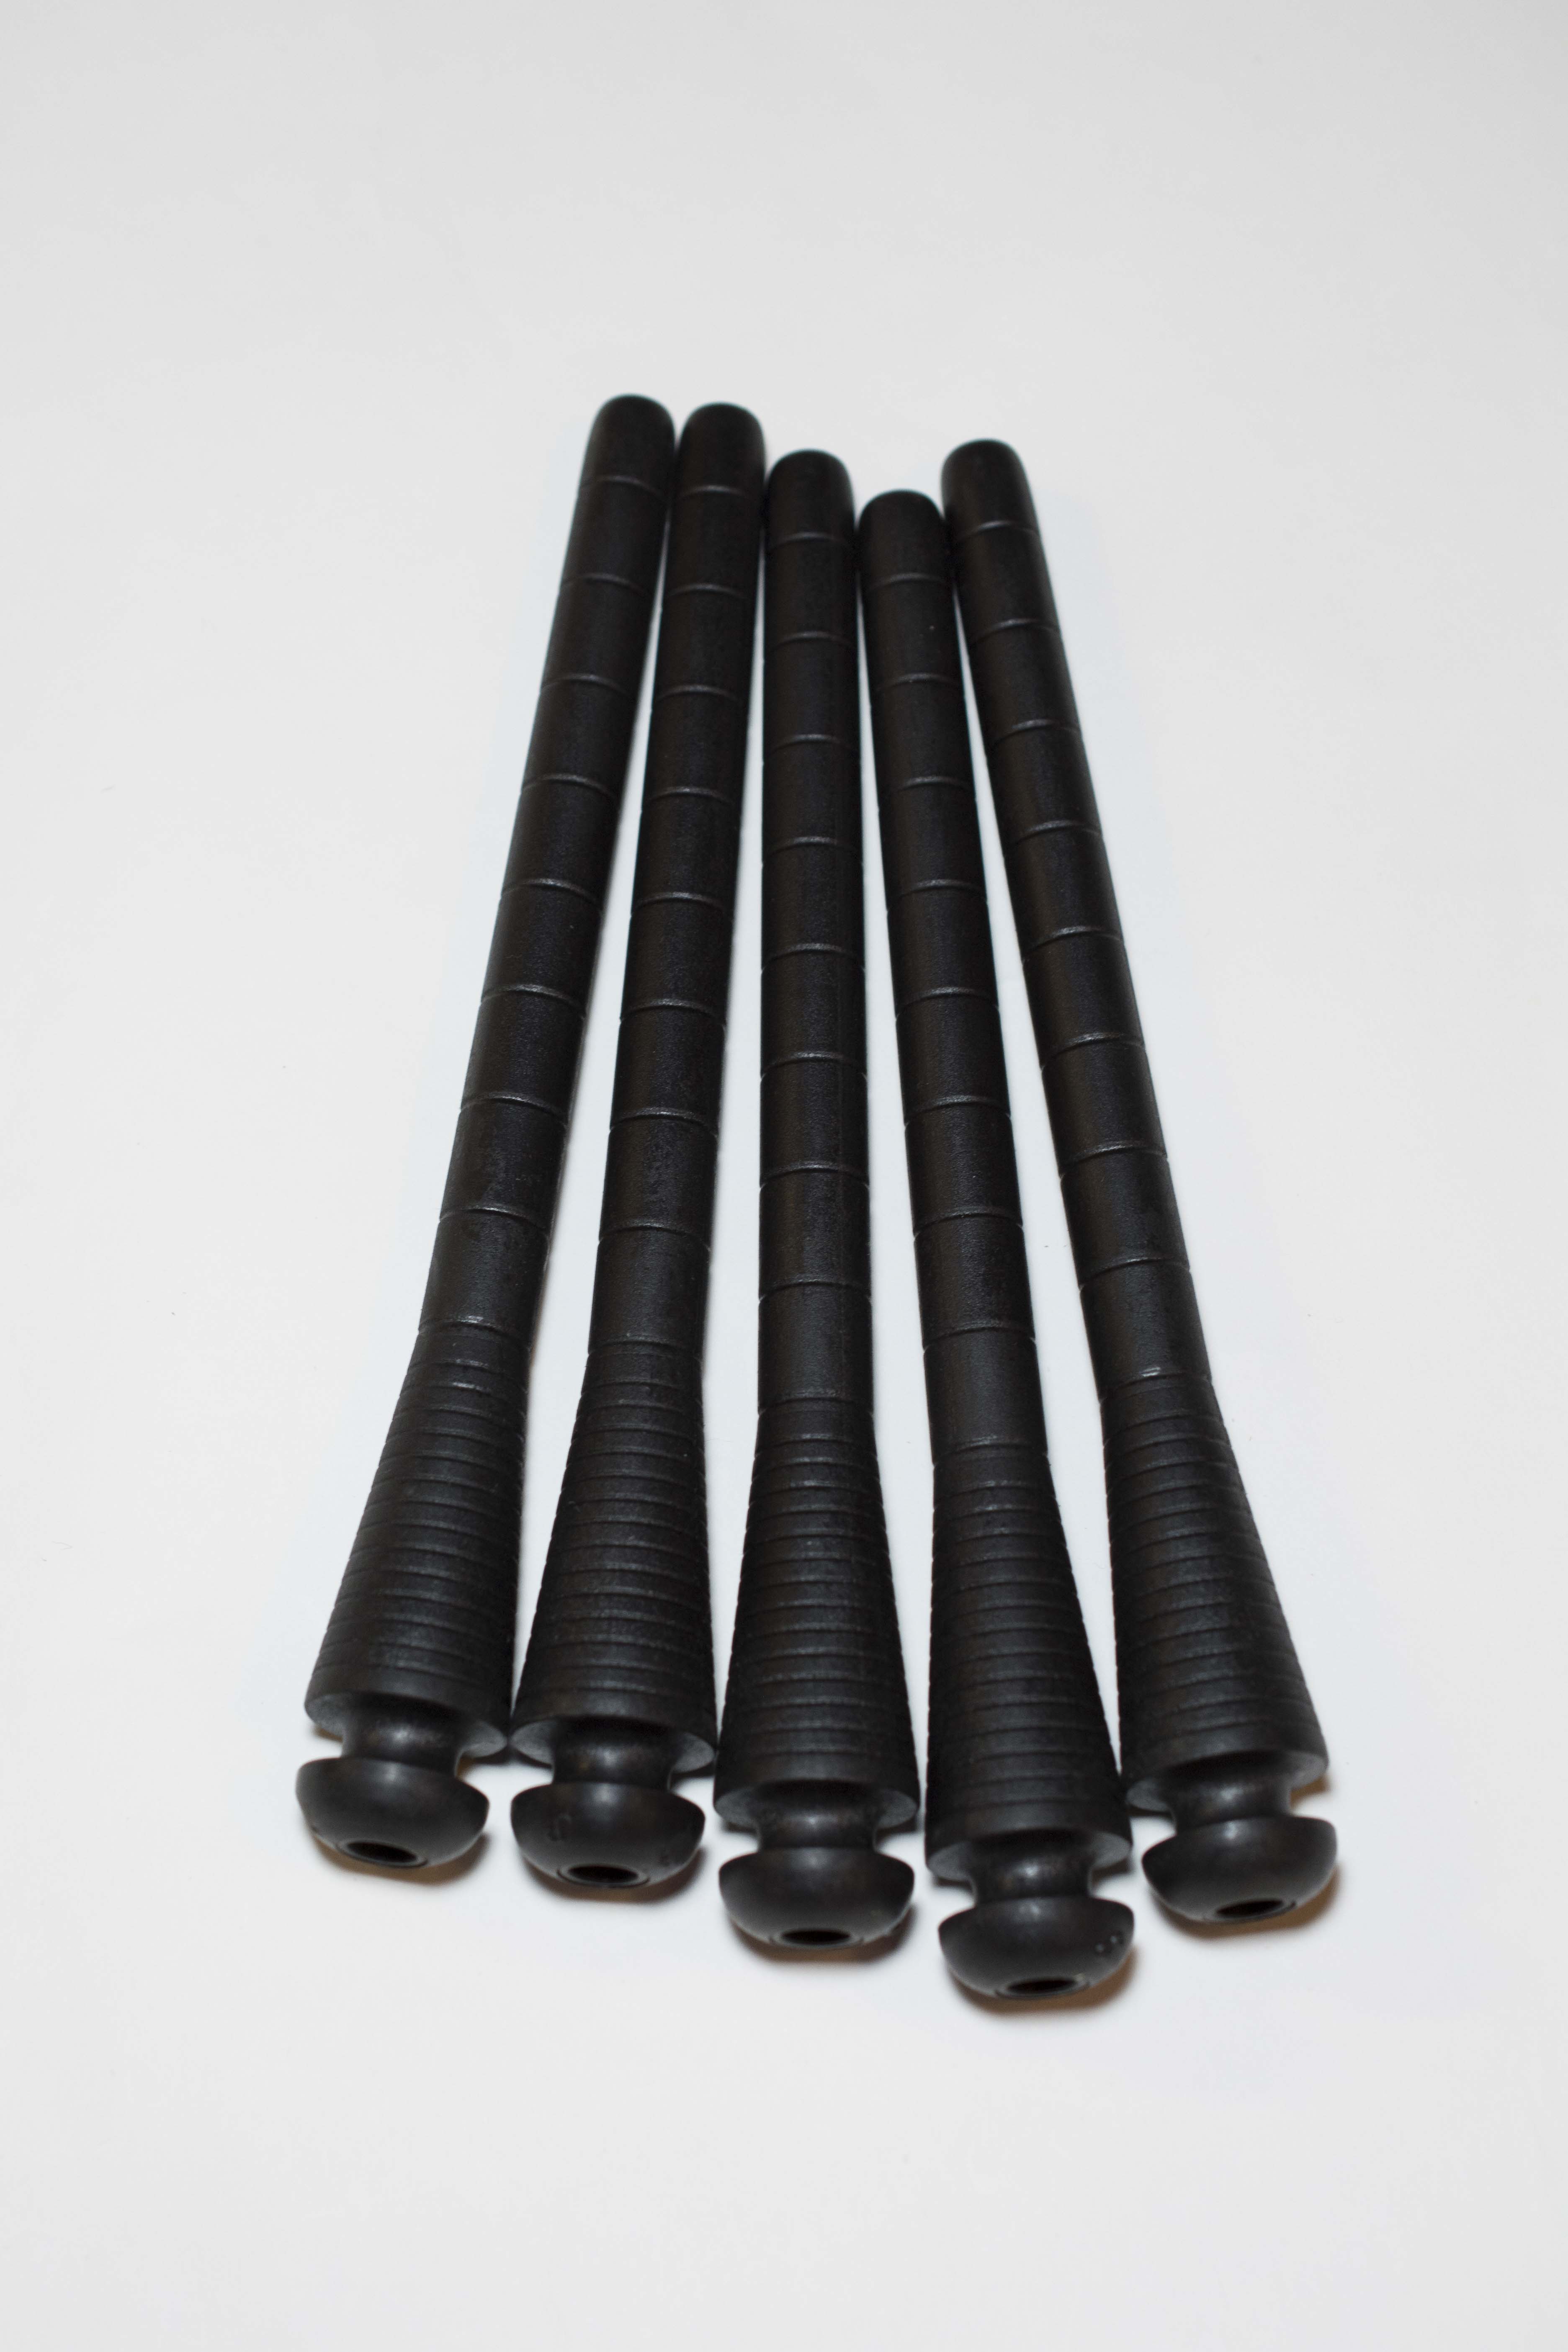
Package of 5 pirns. Available in two sizes. Designed to be used with Schacht End-Delivery Shuttles.
Made from black plastic.
How to wind weft yarn on the pirn:
It is important to wind the pirn so the weft yarn unwinds smoothly. A double-end bobbin winder which holds the pirn firmly at both ends works best. Single-end winders can be used, although you may need to wrap the winder spindle with a little paper and tape, so that it holds the pirn firmly.
The weft yarn must be wound very tightly. Begin winding at the funnel-shaped end of the pirn. Follow the funnel shape as you wind the weft, winding a series of concentric cones along the length of your pirn. You will be moving the weft yarn back and forth in a criss-cross motion over about 1 1/2”, moving gradually toward the tip of the pirn at about a scant eighth of an inch at a time. Once the yarn has almost reached the tip, stop winding. The wound pirn should be cylindrical in shape and approximately 1 1/8” in diameter, tapering off at the tip. Do not go back to fill in any uneven areas along the length of the pirn. Your technique will improve after you have wound a few pirns.
Positioning the pirn in the shuttle:
Push the spindle up from the bottom of the shuttle (the spindle only comes up about 30 degrees and locks in place). Slide the pirn all the way on until it is fully seated on the spindle. Lower the pirn back down into the shuttle. The pirn should be level.
The position of the pirn spindle has been set at the Schacht factory. Over time you may need to adjust the pirn position slightly up or down. Find the spindle-adjusting screw on the bottom of the shuttle. It is inside the hole directly beneath the pivoting end of the spindle. Raise or lower the spindle by turning the screw clockwise or counterclockwise respectively, using the Allen wrench which came with your shuttle. This adjustment rarely needs to be done.
Adjusting the weft yarn tension:
With the pirn correctly filled and positioned in the shuttle, pull out a few inches of weft yarn. Hold the yarn with your finger at the tip of the pirn. Lay the yarn over the tension pads and pull it down into the tension pads and curved slot. Now pull the yarn slightly to the left. It will automatically go over the angle pin and be captured.
Test your tension by weaving a few shots across the beginning of your warp. If you have loose loops at the selvedges, you need to increase the tension on the weft yarn by turning the tension-adjusting screws clockwise. If the selvedges are drawing in, you need to ease off on the tension by turning the screws counterclockwise.
The tension-adjusting screws are located in holes on both sides of the yarn-feed end of the shuttle. These screws have small springs in their ends which press against the tension pads. Use the Allen wrench to adjust these screws. In practice, very little adjustment is necessary. (Be careful about loosening the tension pads more than a few turns or the springs will fall out.) Once the tension is adjusted for a particular weft yarn, it will probably not need further adjustment for the entire length of the warp, unless you notice loops or draw-in at the selvedge.






Reviews
There are no reviews yet.